The slow-cooker error that leaves meat stringy and dry – and the easy timing fix
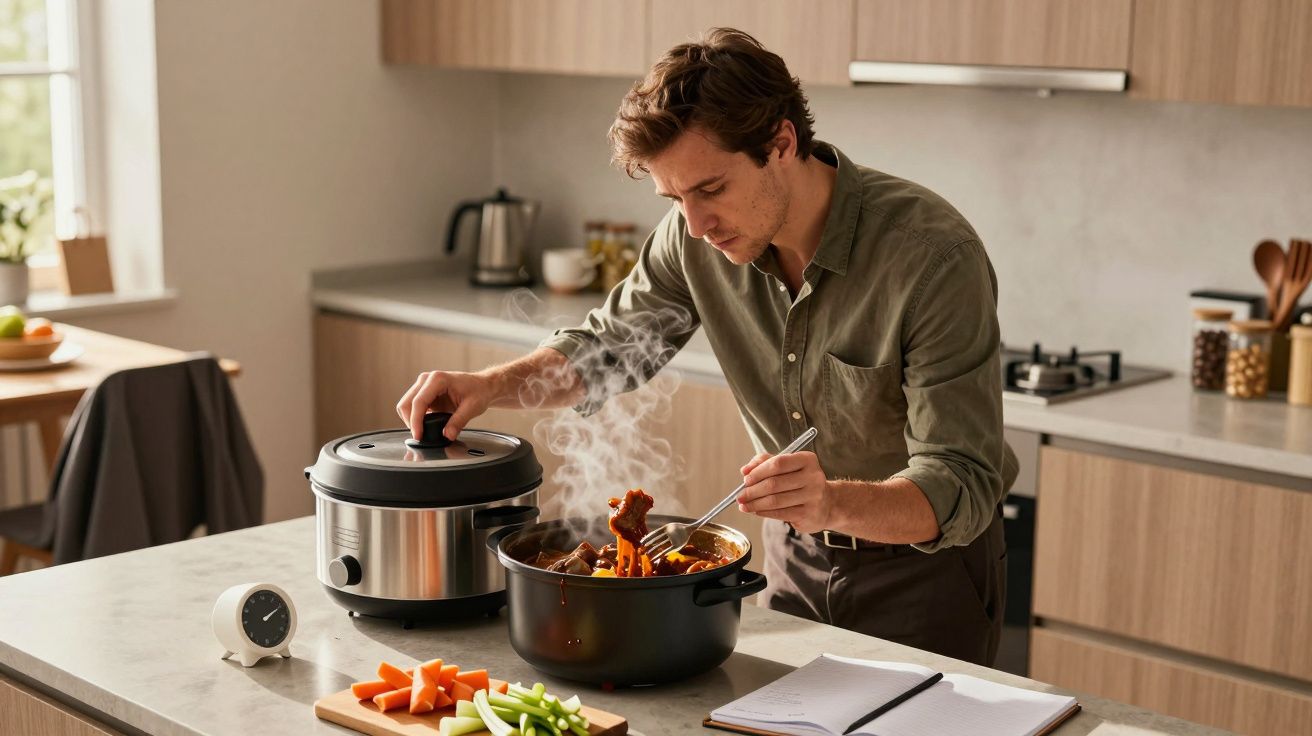
You set the slow-cooker in the morning, shut the lid, and walk out the door feeling virtuous. Dinner is “doing itself”, the house will smell incredible, and you’ll glide straight from commute to cosy plateful. Then you finally lift the lid and the beef that was meant to fall apart in silky chunks is in there sulking-stringy, dry, and somehow both tough and crumbly at once. You didn’t burn it. You followed the recipe. So what went wrong?
The uncomfortable truth is that most of us are making the same quiet mistake: we’re cooking the right cuts of meat for far too long, at the wrong setting, and trusting an automatic “keep warm” to save the day. Slow-cookers are forgiving, but they’re not magic. There’s a point where gentle braising tips over into slow dehydration. The fix isn’t fancy ingredients. It’s timing.
The quiet science of why “low and long” can still ruin meat
Tough cuts such as chuck, shin, shoulder and brisket are built for slow-cooking. They’re laced with collagen and connective tissue that need time and moisture to dissolve into gelatine. When this happens at the right temperature range-roughly 85–96°C in the liquid-the meat fibres relax and the strands slide apart with a spoon. That’s the pot-roast dream.
Leave it too long, though, and the muscle fibres themselves start to contract and squeeze out moisture. Imagine a sponge being wrung out in slow motion. You still get something that shreds, but it’s a dry, stringy shred, with all the juiciness boiled into the sauce. This is why eight hours on high very rarely beats six hours on low for beef, lamb or pork. The cooker stays hot, collagen has long since melted, and you’re simply overcooking the protein.
Here’s the kicker: the “keep warm” function is not a fridge; it’s a low-grade hob. It typically holds food between 60–75°C. That sounds gentle, but over two or three extra hours it continues to drive moisture out of the meat, especially if the pot isn’t full or the lid has been lifted. By the time you sit down, you’ve effectively cooked your stew twice.
The timing trap almost everyone falls into
Most timing disasters start before the cooker’s even switched on. A recipe says “6–8 hours on low”, you know you’ll be out for 10, so you set it going anyway and rely on keep-warm. Or you pick “high” instead of “low” because you’re running late and assume twice the heat means half the time. Both seem sensible. Both are why your casserole tastes like wet rope.
Think of slow-cook timings in three simple stages rather than one vague window:
- Come up to temperature. This is the first 30–90 minutes where the pot is warming and the contents are climbing past 60°C.
- Braising sweet spot. This is when collagen melts and flavours mingle. For most stews, that’s about 4–6 hours on low or 3–4 hours on high once the pot has actually reached temperature.
- Overshoot zone. Everything after that is maintenance, not improvement. This is when meat dries, veg turns woolly, and sauces start to lose freshness.
The common error is treating the overshoot zone as free time. Ten hours on low plus four on warm isn’t “extra tender”. It’s fatigue in a bowl.
The easy timing fix that actually works
The most reliable way to avoid stringy meat is embarrassingly simple: shorten the cooking window and control what happens after the braise, not during it. Instead of asking “How long can I leave this on?”, ask “How little cooking time do I genuinely need, and where can I build in a pause?”
A practical rule of thumb for most tough cuts in a 3.5–6 litre slow-cooker:
- Beef chuck, shin, brisket; lamb shoulder; pork shoulder
- 6–7 hours on low
- or 4–5 hours on high
- 6–7 hours on low
- Chicken thighs on the bone
- 4–5 hours on low
- or 3–4 hours on high
- 4–5 hours on low
Then switch the cooker off completely and let the pot stand, lid on, for up to an hour. The insulated ceramic holds heat beautifully, so your stew stays hot enough to serve, but the meat is no longer being actively driven past its comfort zone. Think of it as a warm rest rather than an extra cooking stage.
If your schedule is longer than those numbers, flip the usual logic:
- Prep the night before and chill the pot (if your manual allows) so you can:
- Start it later with a smart plug or timer socket.
- Or ask someone to switch it on at lunchtime, not breakfast.
- Aim to finish cooking 30–60 minutes before you plan to eat, not the minute you walk in the door.
- Use keep-warm only for genuinely short gaps: 30–60 minutes, not three hours.
You’re not taking a risk. You’re finally matching the meat’s timeline to your own.
Small adjustments that make a big difference
Timing is the main fix, but a few quiet tweaks will buy you even more tenderness without drama. They’re not chef tricks; they’re insurance.
- Start with enough liquid-but not a flood.
You need liquid to rise at least halfway up the meat. Too little and the top layer dries; too much and flavours wash out, so you keep cooking to “reduce” and end up overdoing the meat instead. - Cut meat into larger chunks.
Big, palm-sized pieces hold moisture better than thin strips. Shred or slice just before serving. - Salt early, not excessively.
Seasoning at the start helps proteins retain moisture, provided you don’t go heavy-handed. Over-salting can make dryness feel harsher. - Resist lifting the lid.
Every peek releases heat and can add 20–30 minutes to the cooking time as the pot climbs back up to temperature. If you’re going to open it, do it once, near the end, to check doneness. - Know what “done” actually feels like.
Properly cooked slow-cooker meat doesn’t fight the fork. A chunk should yield with a gentle twist, not require a sawing motion to separate.
Let’s be honest: nobody stands over a slow-cooker with a thermometer every Sunday. But one quick fork test in the last hour can save a whole batch.
Real-world timing swaps you can steal
If timings feel abstract, use these simple conversions the next time you read a vague recipe:
| Recipe says… | Do instead | Why it helps |
|---|---|---|
| “8–10 hours on low” | 6–7 hours on low, then power off for up to 1 hour rest | You get peak tenderness without the dry overshoot |
| “4–5 hours on high” | 4 hours on high, then test every 20 minutes | Avoids crossing into stringy territory |
| “All day on low, then keep warm” | Start 3–4 hours later, cut keep-warm to max 1 hour | Cuts out those extra drying hours |
Think of each hour you shave off the active cook as moisture you keep in the meat instead of donating to the sauce.
The small shift that changes how your slow-cooker feels
What changes when you stop treating the slow-cooker like a food radiator and start treating it like a gentle oven is not just texture, but mood. You come home to meat that pulls apart in generous flakes, not splinters. Your stews taste like you meant them to, rather than like a compromise between convenience and quality.
Share the timing trick with the friend who’s convinced their slow-cooker “ruins” good beef, or with the flatmate who keeps leaving casseroles on from breakfast to bedtime. Once you’ve tasted the difference between “still braising” and “braised, then resting”, it’s difficult to go back. Tenderness isn’t a mystery. It’s just about knowing when to stop.
FAQ:
- Why does my slow-cooked meat fall apart but still taste dry?
Because the collagen has melted, so it shreds, but the muscle fibres have been cooked past the sweet spot and squeezed out their moisture. It looks tender but eats stringy.- Is “low” always better than “high” on a slow-cooker?
For most tough cuts, yes. Low gives collagen time to dissolve without hammering the protein. High is useful when you’re short of time, but the margin for overcooking is narrower.- Can I safely turn the slow-cooker off and leave food in it?
Yes, for about an hour, lid on, in a typical home kitchen. The food will stay well above the danger zone while the ceramic pot gradually cools, and the meat stops drying out.- What if my cooker doesn’t have a timer or keep-warm?
Use a plug-in timer socket to control when it turns on, or plan recipes for days when you’ll be home in the last couple of hours to switch it off once it’s ready.- Does this timing advice change for lean cuts like chicken breast?
Lean cuts dry out even faster and are generally poor candidates for very long slow-cooks. If you must use them, cut the timing further and favour low heat with plenty of liquid.


Comments (0)
No comments yet. Be the first to comment!
Leave a Comment